Taking pictures in GTA 5 is such a cool feature. With this, you can remember all the gaming sessions you had. However, some gamers don’t know how to view them.
In this article, we will guide you on how you can easily view pictures you’ve taken with your in-game phone using the Snapmatic app.
Table of Contents
How to View Snapmatic Photos in GTA 5
To view Snapmatic photos in GTA 5, simply navigate to the “Gallery” tab in your options or pause menu and view the pictures you’ve taken.
To make it more detailed, here is the step-by-step guide on how you can locate it:
- Click the “Esc” or “P” button to enter the pause menu.
- Once you’re on the menu, use your “Right Arrow” key to navigate to the right.
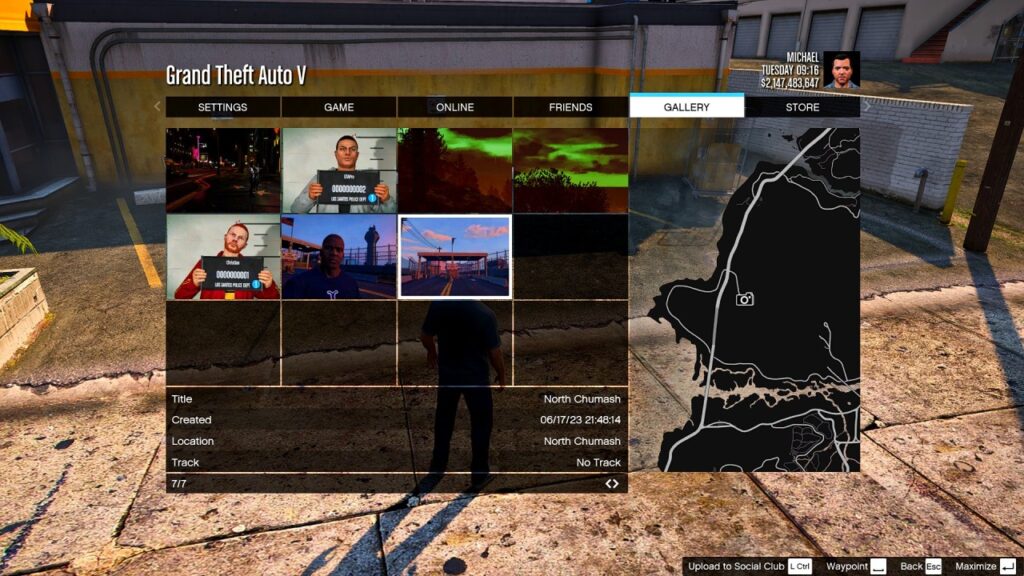
- Look for the “Gallery” tab.
- Press “Enter” to access the album.
In this part, you will see all the pictures you’ve captured so far. You can store at least 96 photos in your Snapmatic app.
How to Delete Unwanted Photos in GTA 5
If your photo album is already at a limit, you can always delete photos at any time.
To remove unwanted photos, follow these steps:
- Return to your “Gallery” and press “Enter” to view photos.
- Use the “Arrow” keys to find the photo you wish to delete.
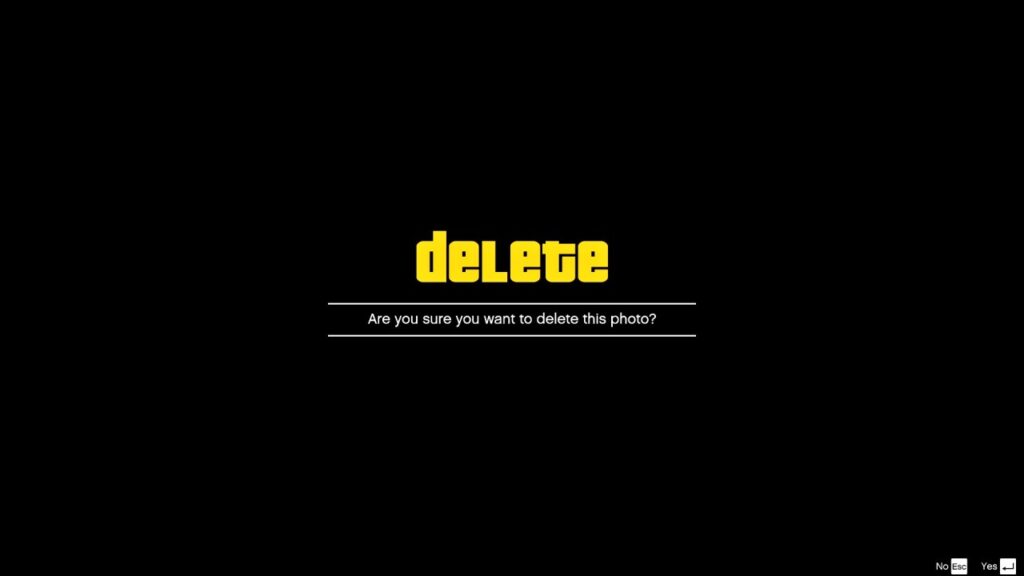
- Select the photo you want to delete by pressing the “Tab” button.
- A pop-up screen will ask you to confirm the deletion, then press “Enter” to confirm.
How to Upload Photos to Social Club
Apart from deleting the pictures, you can also upload your photos to your Rockstar Social Club account.
Here’s how:
- Go to your “Gallery” tab from the menu.
- Press “Enter” to access photos.
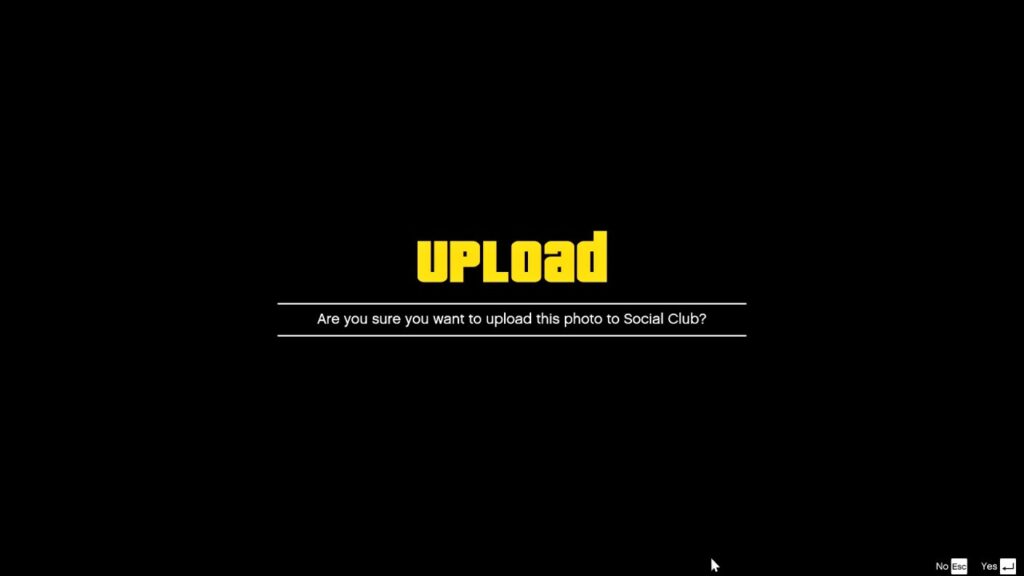
- Locate the photo you want to upload and press the “Left Ctrl” key.
- A pop-up message will appear asking if you want to continue uploading the photo. Then, press “Enter” to confirm.
After that, you can now log in and check your Social Club account, where you will see the photo you just uploaded to your feed.
How to Get and Download Snapmatic Photos
To get and download the Snapmatic photos, you need to access your files in GTA 5’s documents folder. Then, you need to use an external site to convert and download the PGTA files to JPG format.
Here’s a step-by-step guide on how you can do it:
- First, click the “This PC” icon on your desktop.
- Now, click on the “Documents” folder on the left side of the window.
- Then, double-click on “Rockstar Games“, select the “GTA V” folder, then choose the “Profiles” folder.
- After that, double-click the one folder you see. It is typically named with a combination of numbers and letters. It’s usually unique, so each computer will display a different name.
- Then, you will see numerous files, but the only ones you need start with “PGTA,” followed by a series of numbers.
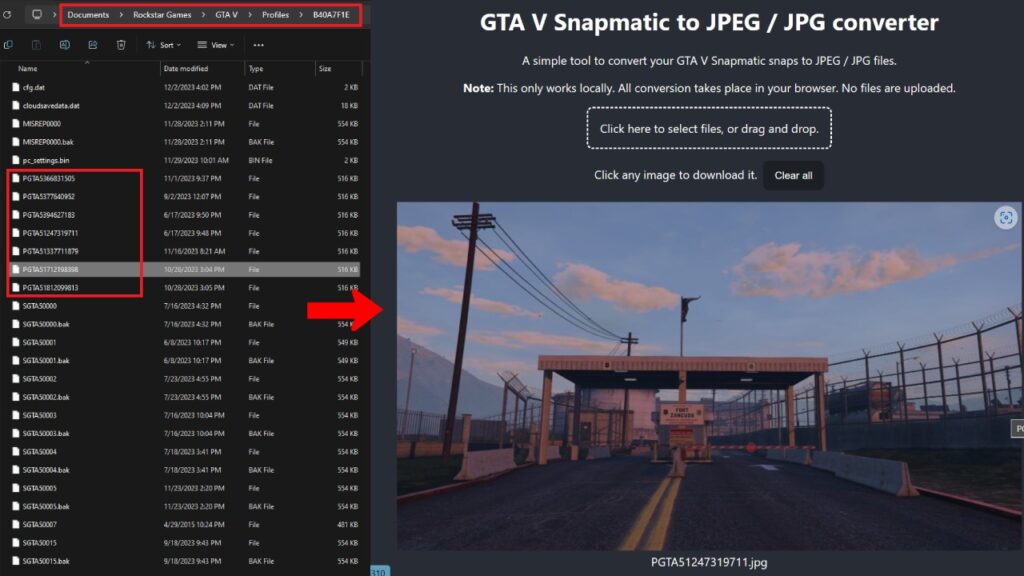
- Now, go to the external site and drag the files with the “PGTA” name on it.
- After that, you can click on the picture to download it.


